
COMMUNICATE
MANAGE
TRAIN
Manage your teams for free, ad-free and without any usage limits.


COMMUNICATE
MANAGE
TRAIN
Manage your teams for free, ad-free and without any usage limits.
The essential app to manage your sports teams
The essential app to manage your sports teams
The essential app to manage your sports teams
Active users
Events created
Screens viewed per month
Active teams
Registered athletes
Events created
Screens viewed per month
Active teams
FEATURES
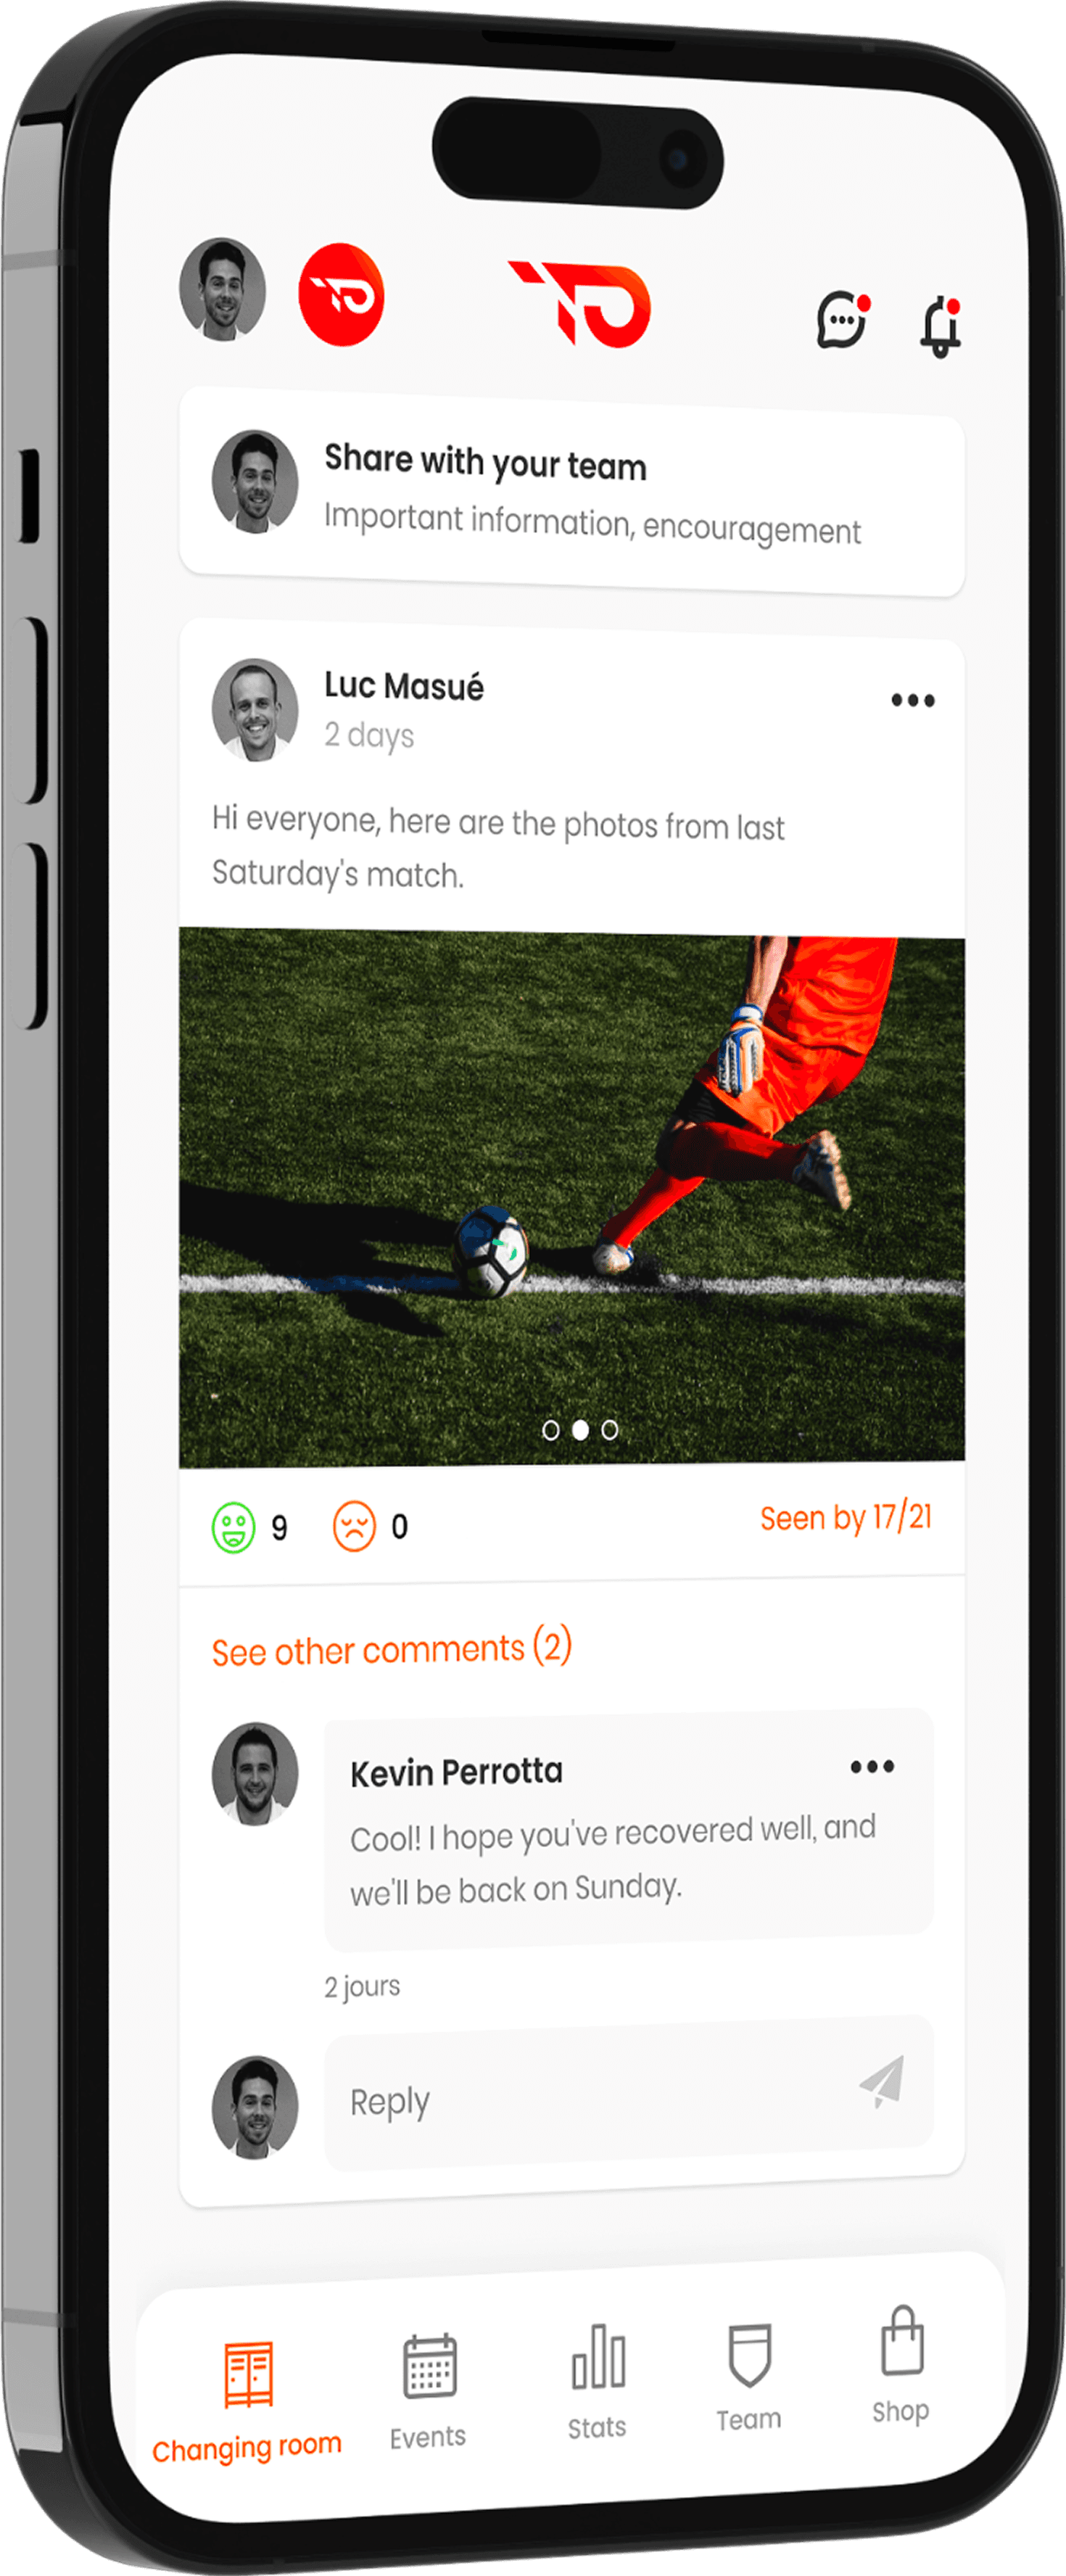
Locker room
A unique sharing place
A unique sharing place
Gather all important information and content in one place.
Easily share advertisements, documents, photos, and videos.
Don't lose any more information thanks to the organized posts in the locker room.
React, comment, and create a real team dynamic.
Keep a clear history for better tracking.
Locker room
A unique sharing place
Gather all important information and content in one place.
Easily share advertisements, documents, photos, and videos.
Don't lose any more information thanks to the organized posts in the locker room.
React, comment, and create a real team dynamic.
Keep a clear history for better tracking.
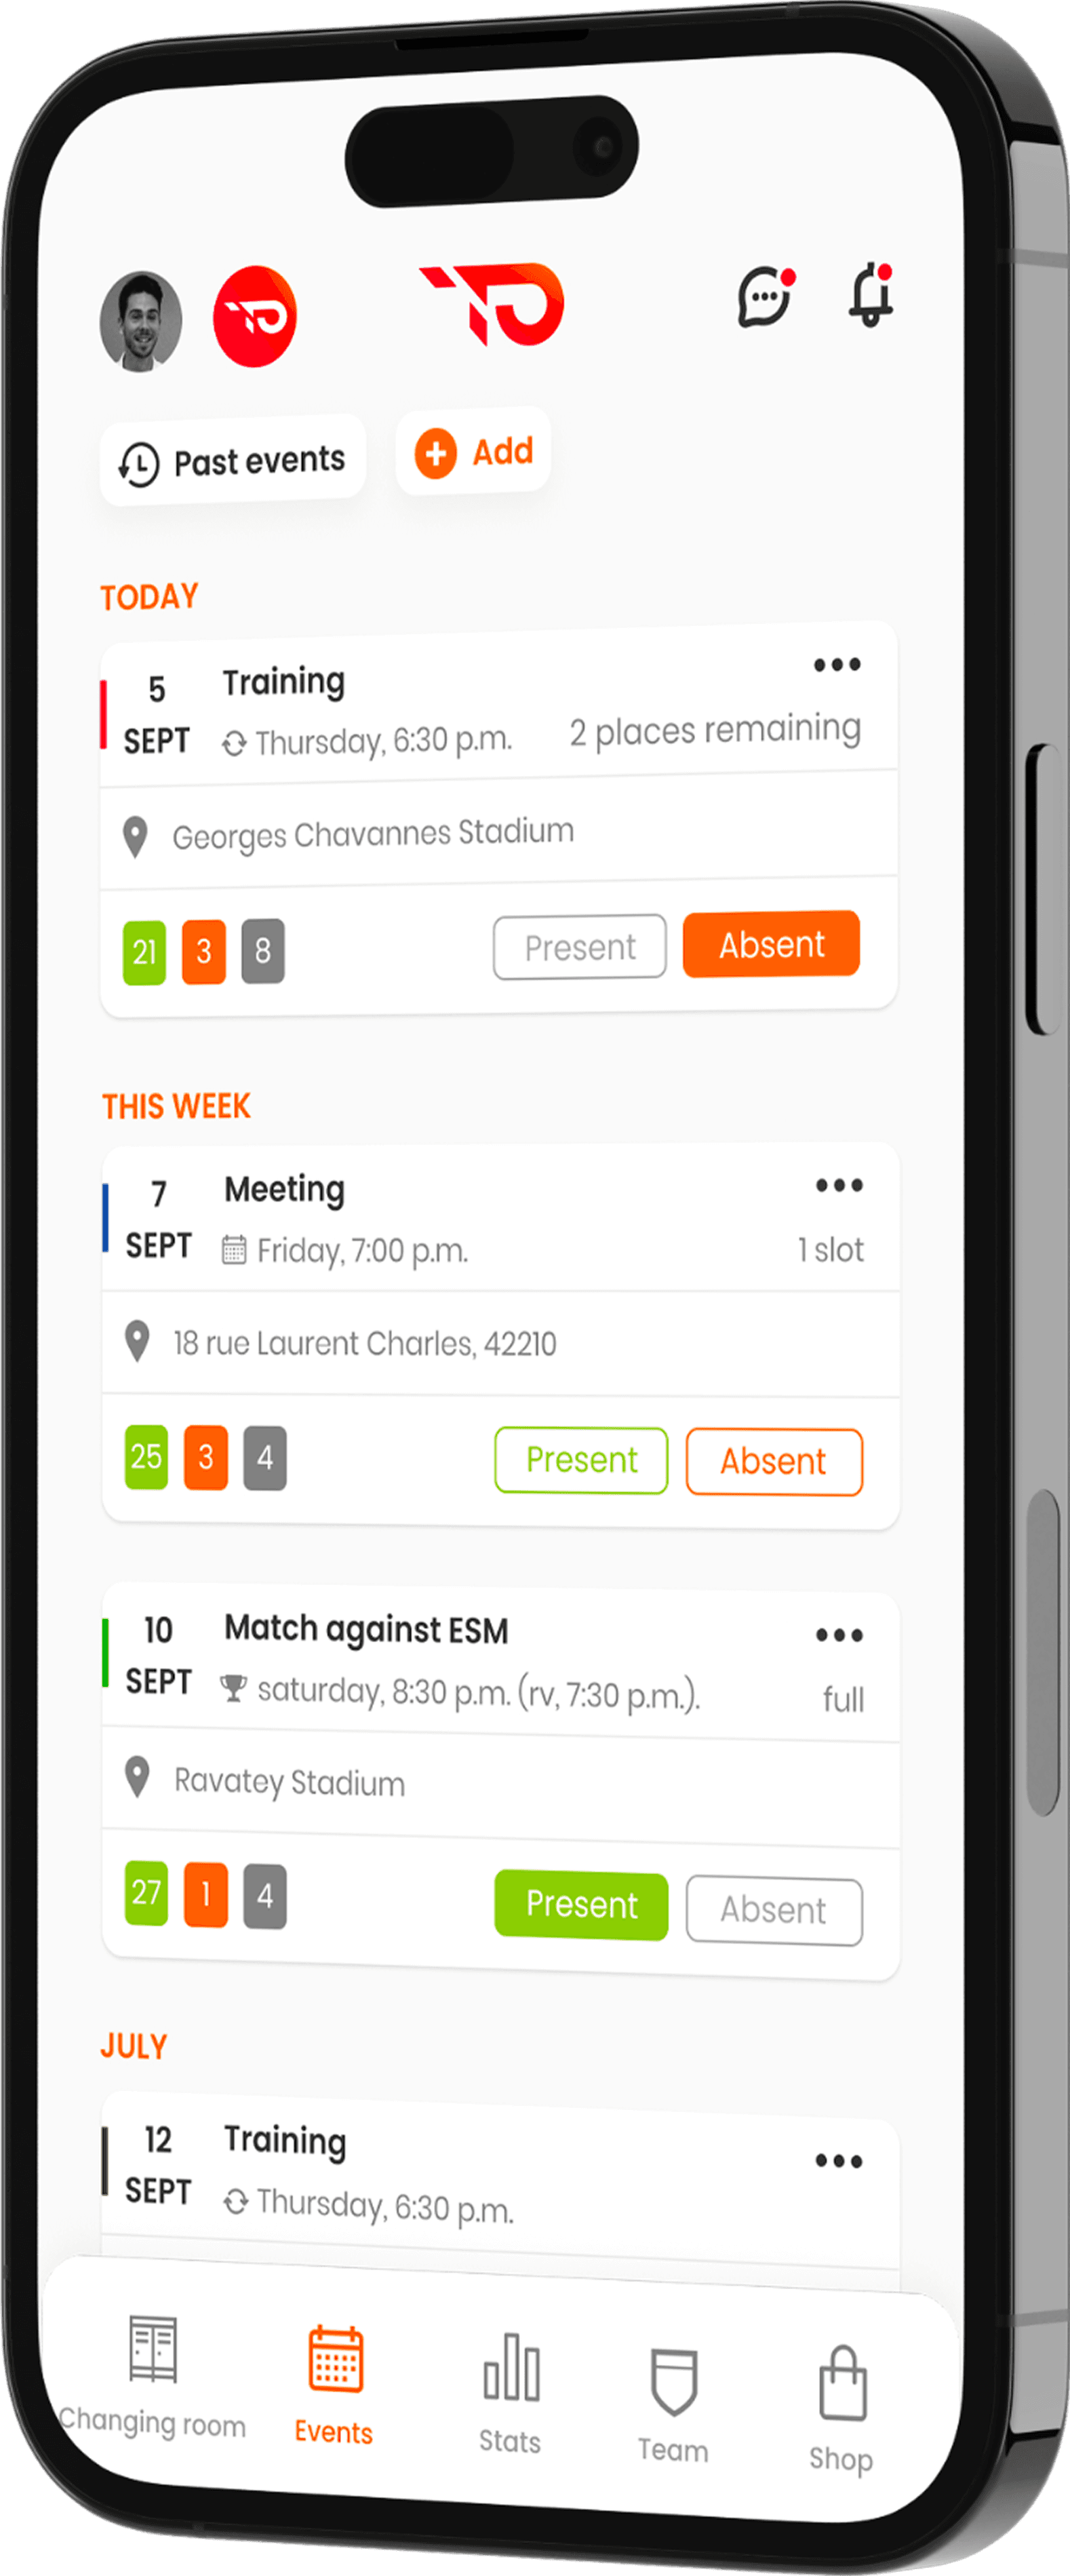
Availability
No more absences!
No more absences!
Manage your players' availability for optimal organization.
Track the attendance and absences of each player in real-time.
Adapt your workout sessions based on availability.
Easily send invitations for matches.
Receive notifications about availability changes.
Availability
No more absences!
Manage your players' availability for optimal organization.
Track the attendance and absences of each player in real-time.
Adapt your workout sessions based on availability.
Easily send invitations for matches.
Receive notifications about availability changes.
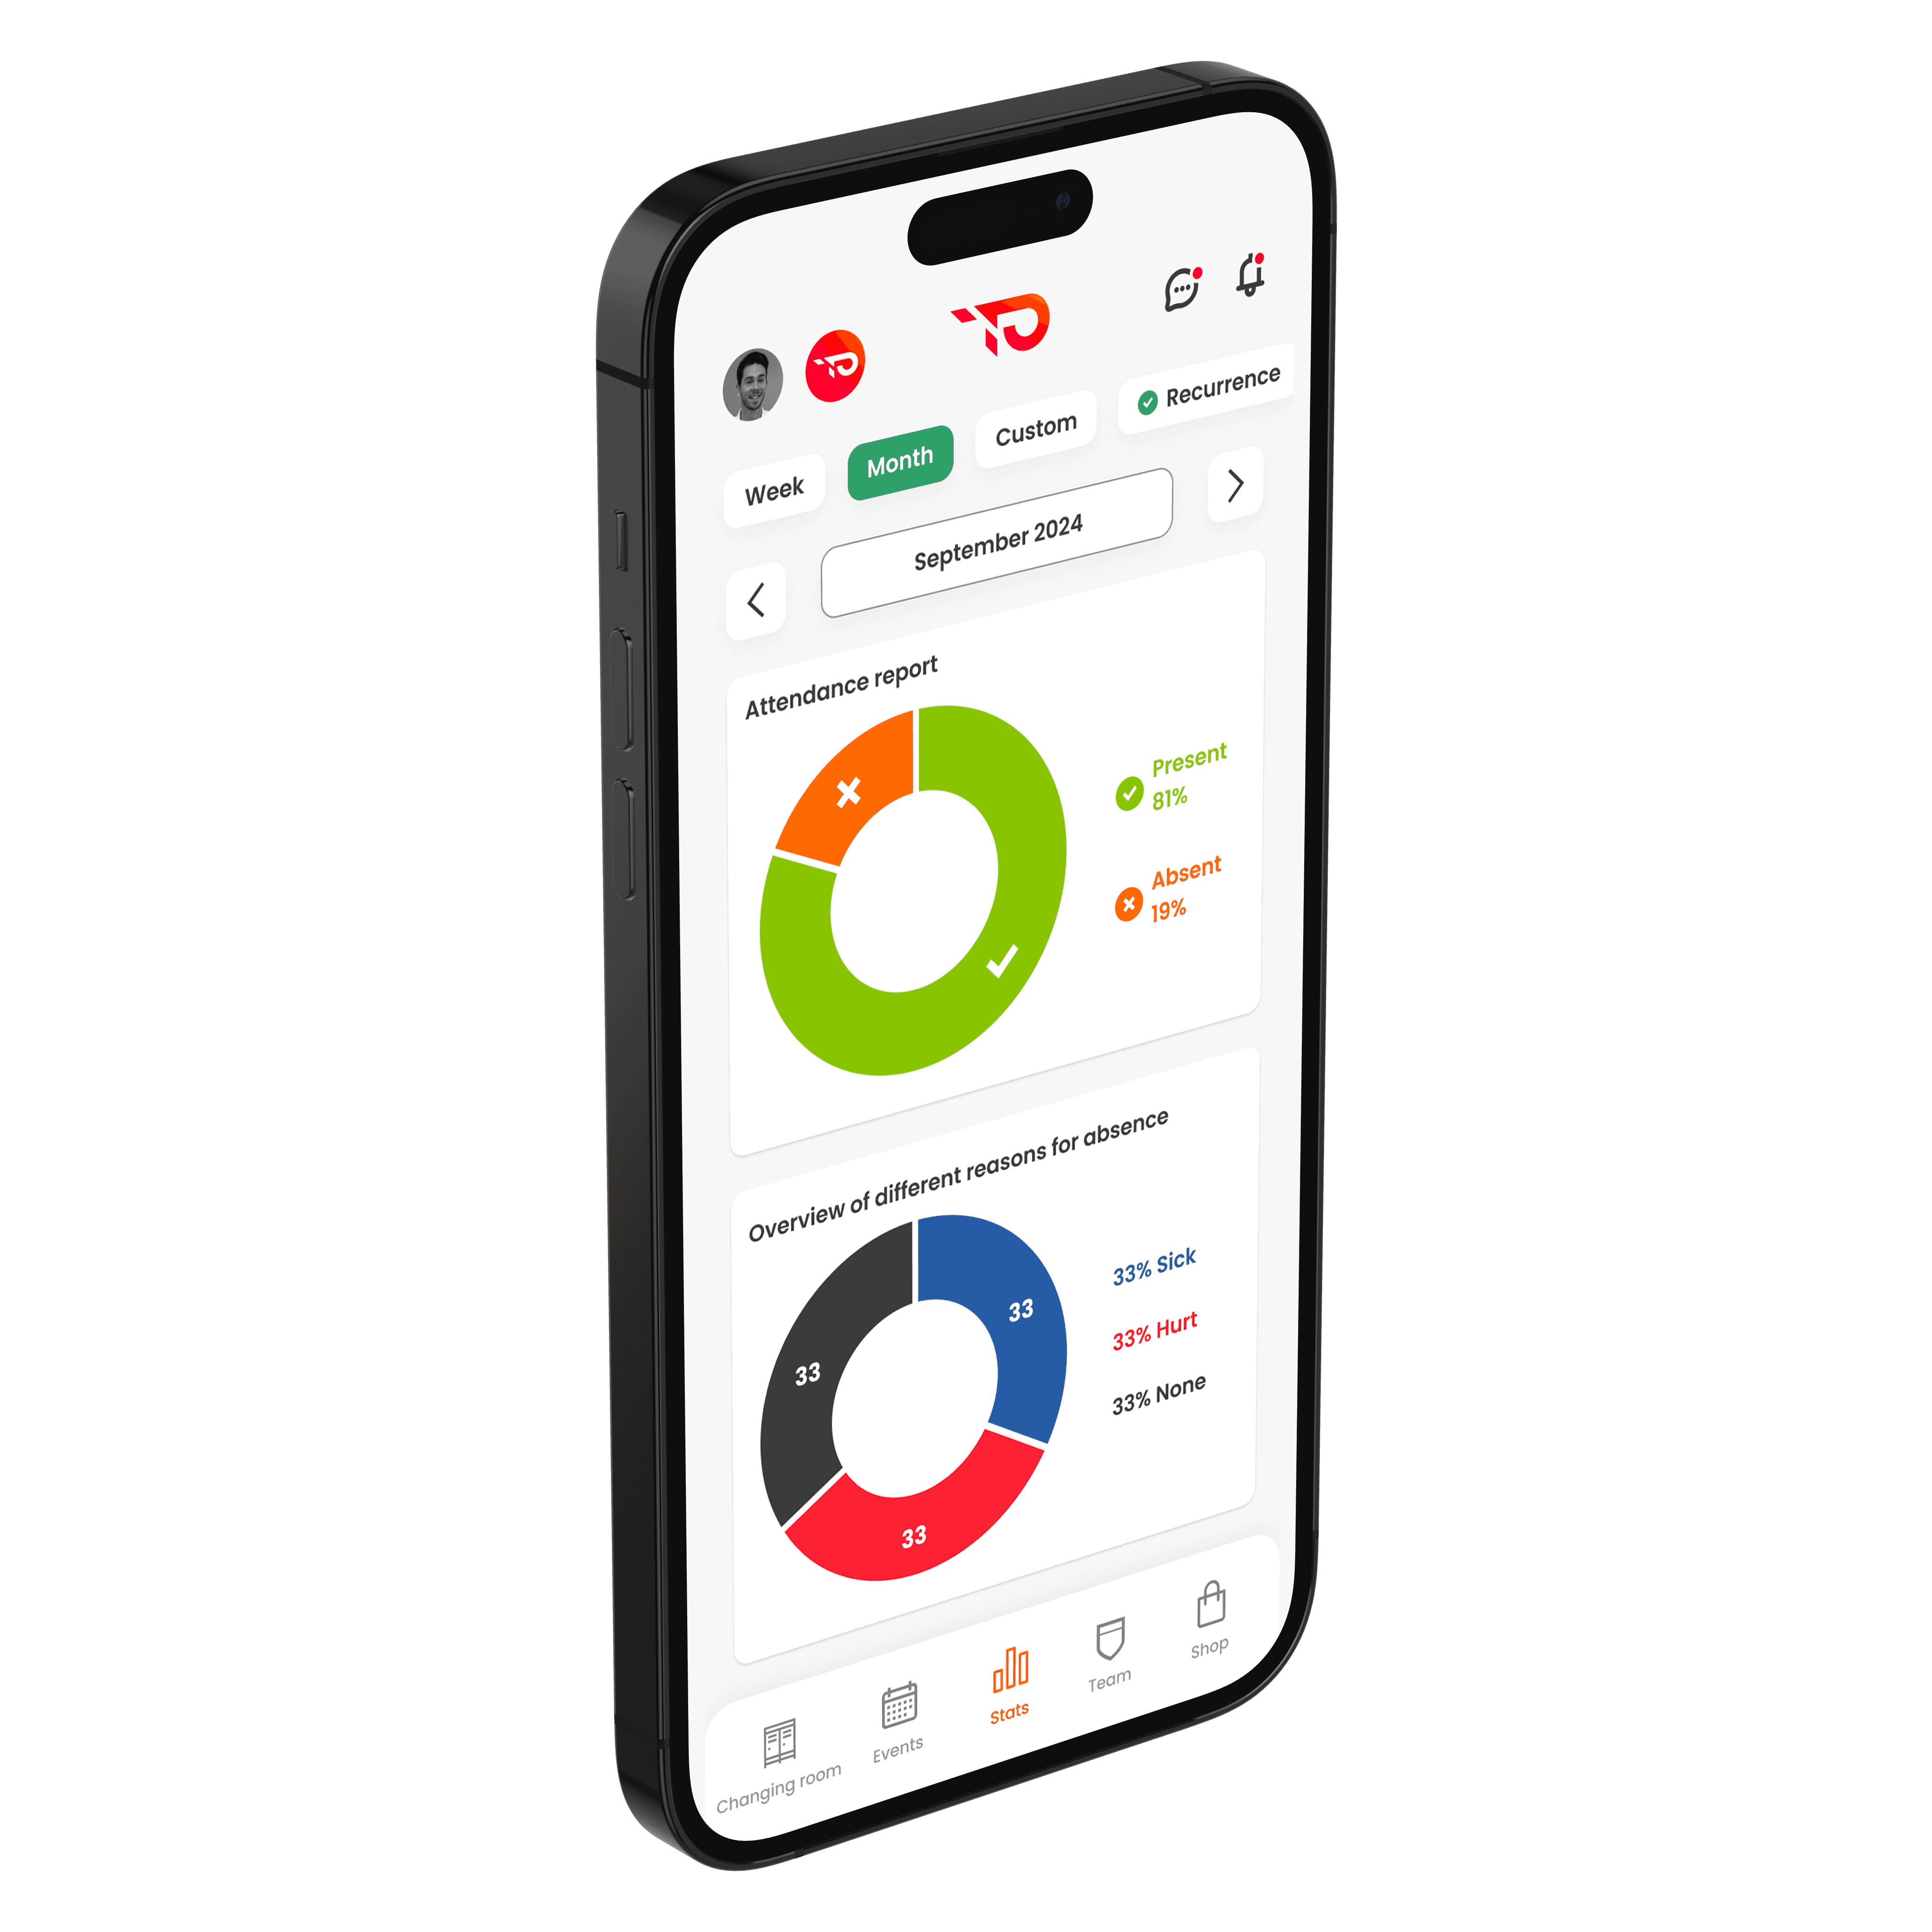
Statistics
Check the stats
Check the stats
Analyze the involvement and effectiveness of your players with accurate statistics.
Track the attendance statistics for each player.
Evaluate individual and collective performance over time.
Identify the most involved players using clear data.
Compare the performances between different matches and training sessions.
Benefit from in-depth analyses to adjust your strategies and training.
Statistics
Check the stats
Analyze the involvement and effectiveness of your players with accurate statistics.
Track the attendance statistics for each player.
Evaluate individual and collective performance over time.
Identify the most involved players using clear data.
Compare the performances between different matches and training sessions.
Benefit from in-depth analyses to adjust your strategies and training.
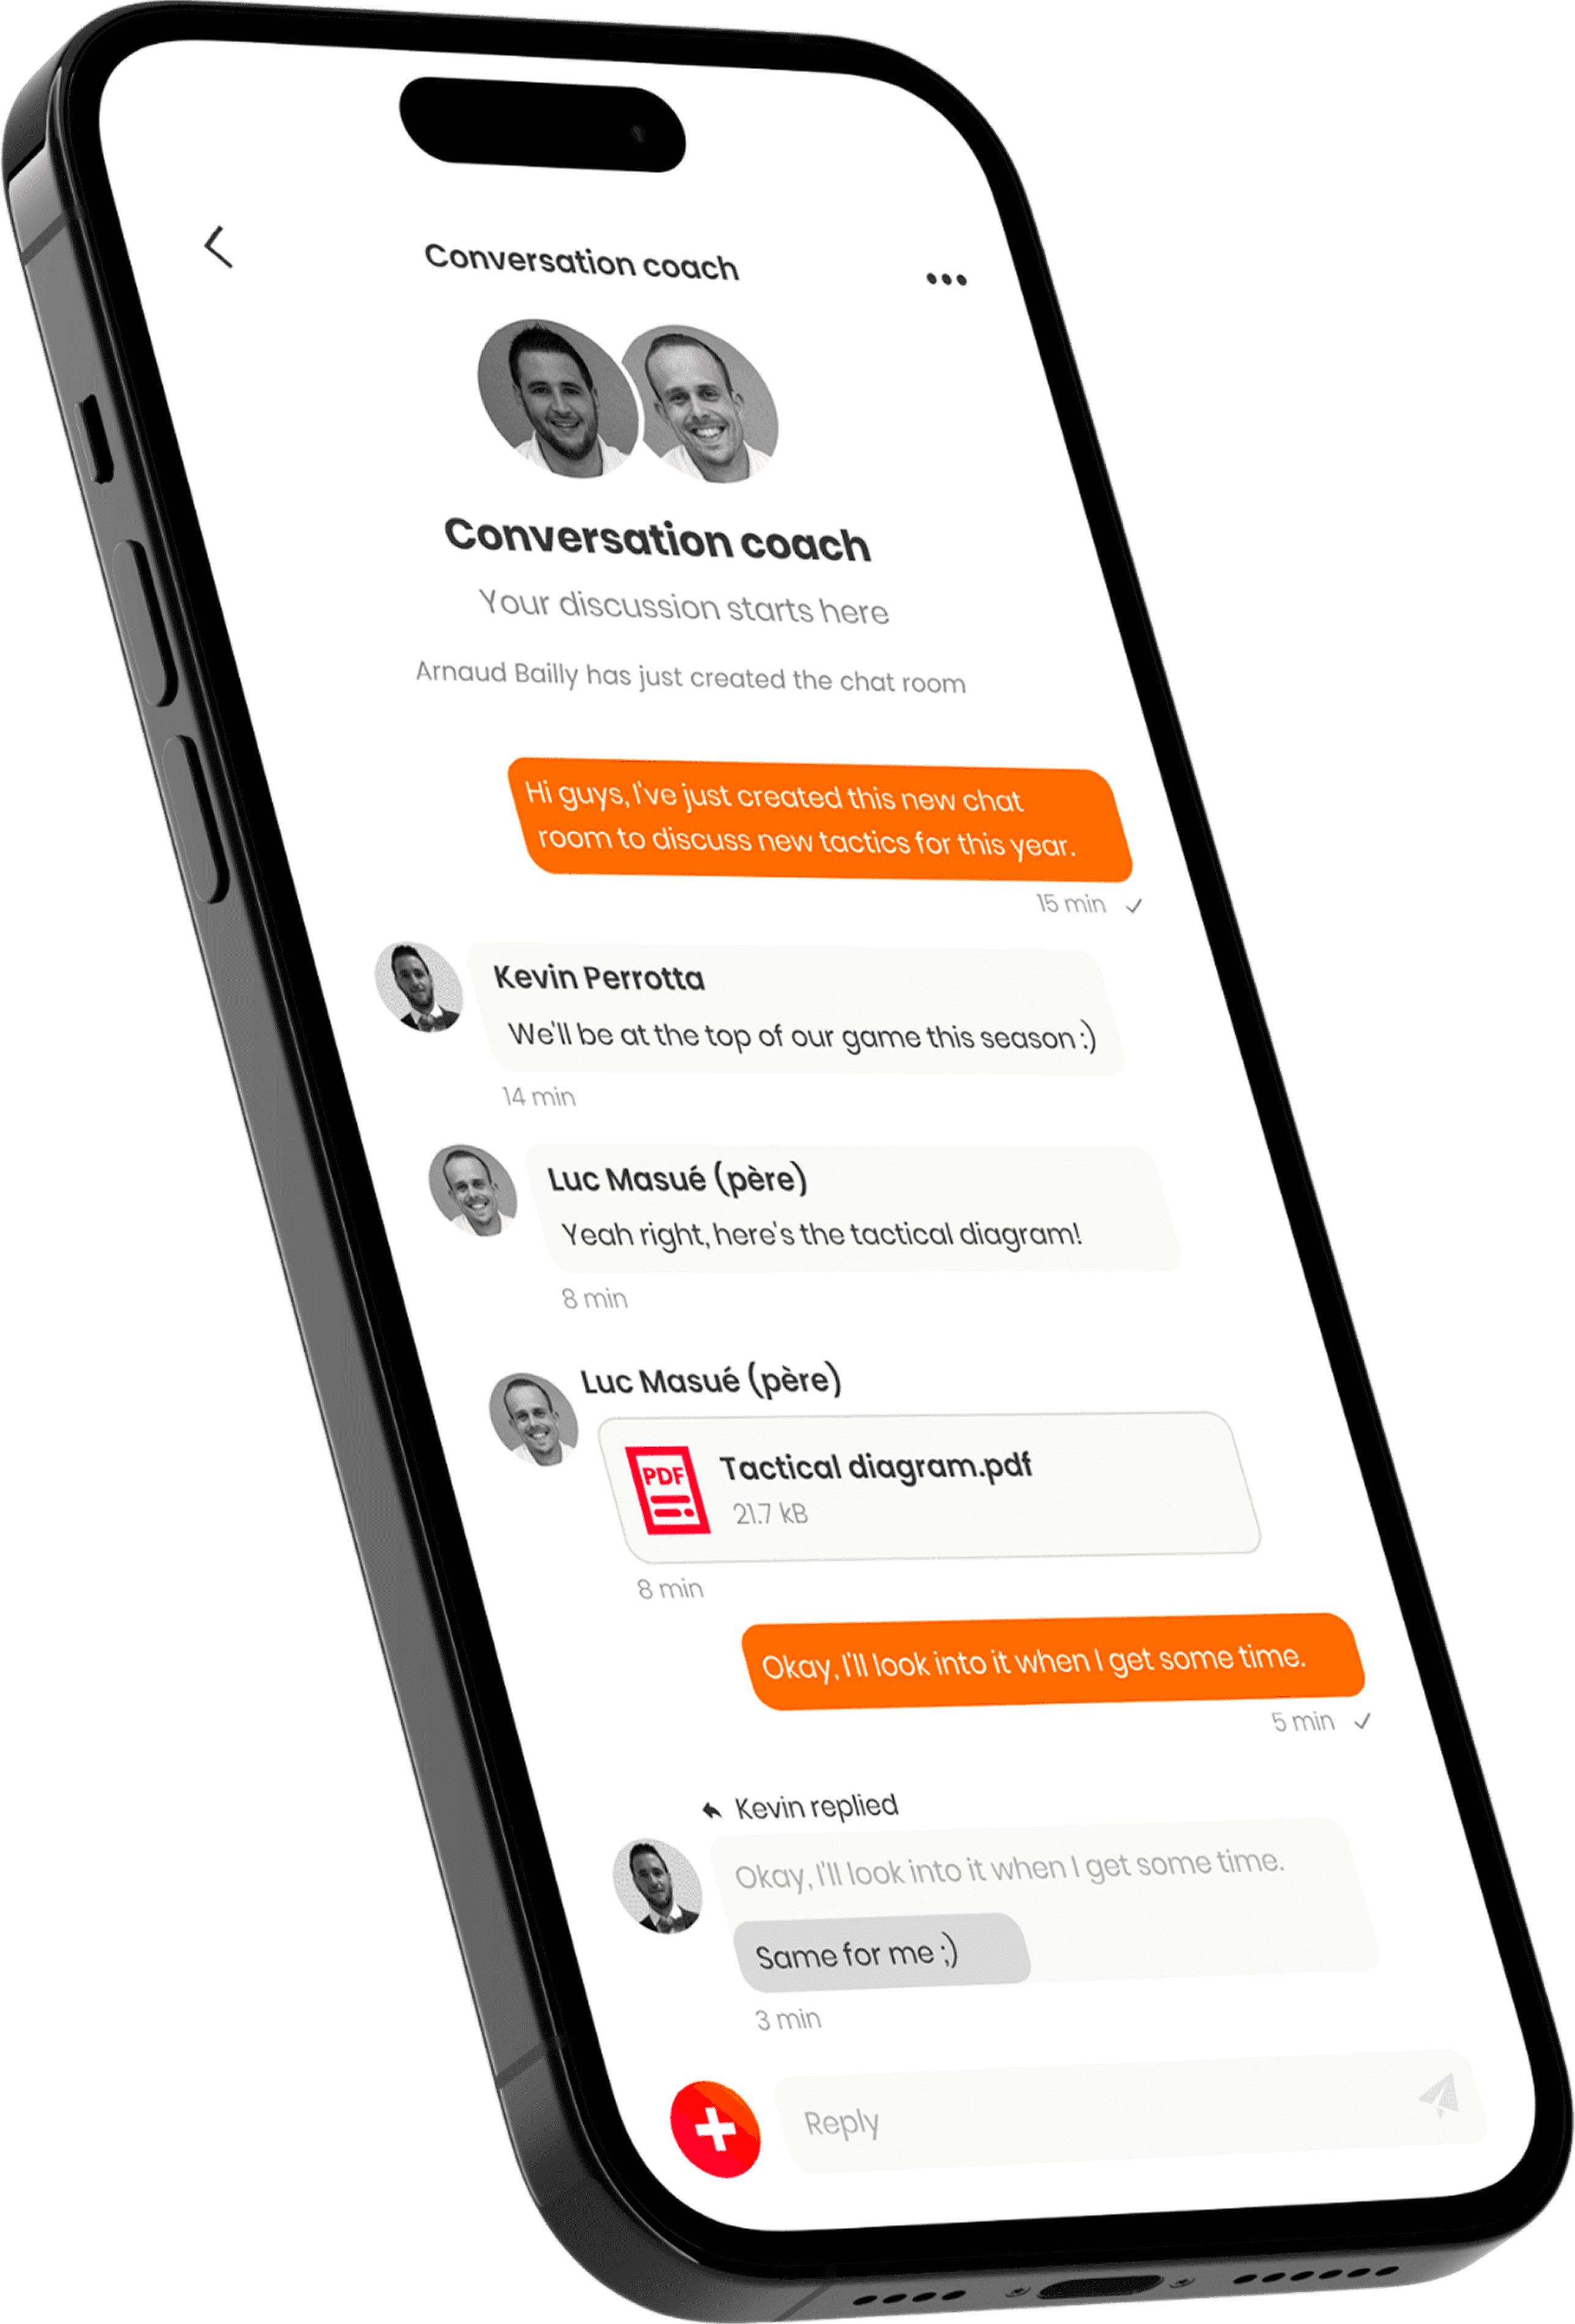
Social
Finished WhatsApp!
Finished WhatsApp!
Simplified communication for more effective exchanges.
Send private or group messages with ease.
Easily find your conversations thanks to a structured history.
Enjoy conversations dedicated solely to your events.
Say goodbye to scattered communications across multiple applications.
Social
Finished WhatsApp!
Simplified communication for more effective exchanges.
Send private or group messages with ease.
Easily find your conversations thanks to a structured history.
Enjoy conversations dedicated solely to your events.
Say goodbye to scattered communications across multiple applications.

Parents-Children
For budding
athletes
For budding
athletes
Register your children on the app and track their progress.
Manage your children's sports, whether alone or in collaboration with other guardians.
Easily communicate with other tutors and coaches.
Receive notifications for events, absences, and schedule changes.
Parents-Children
For budding athletes
Register your children on the app and track their progress.
Manage your children's sports, whether alone or in collaboration with other guardians.
Easily communicate with other tutors and coaches.
Receive notifications for events, absences, and schedule changes.
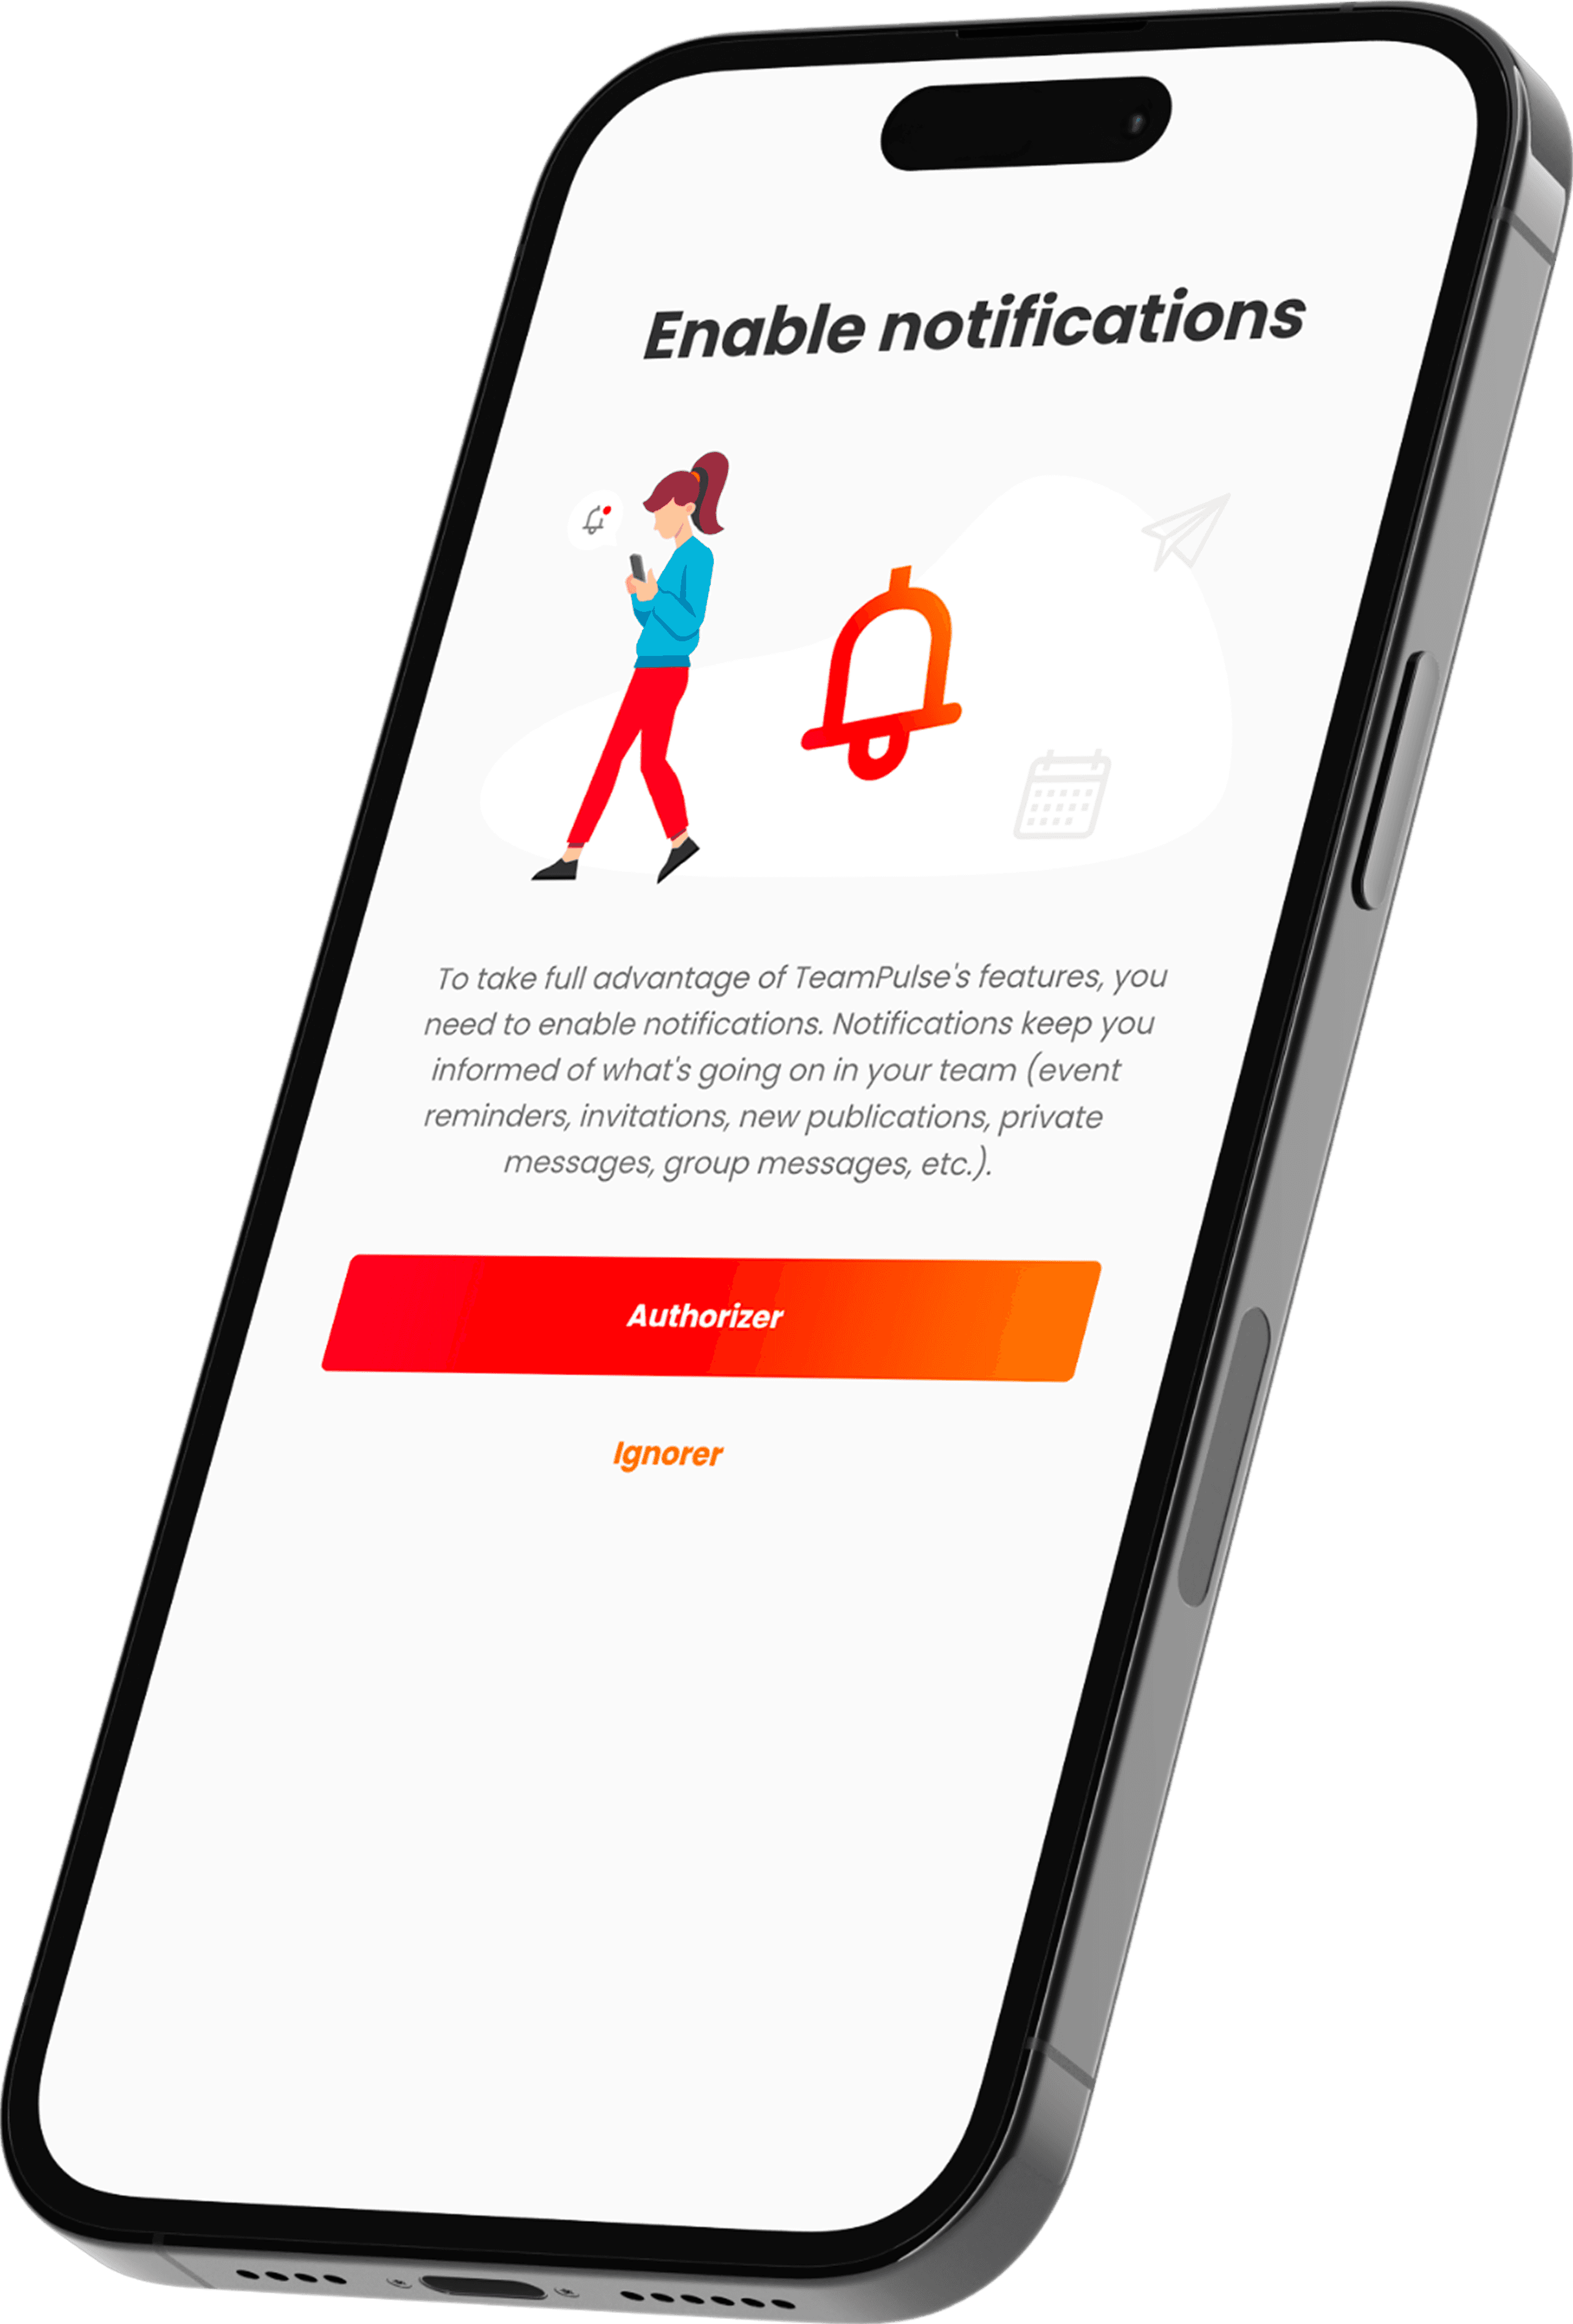
Notifications
Everyone knows!
Everyone knows!
Optimize your attendance management with TeamPulse.
Eliminate the time wasted on taking attendance every week.
Benefit from automatic reminders for player attendance.
Make sure that every team member is informed effortlessly.
Receive notifications for absences and presences in real time.
Focus on training and performance, without worrying about the call.
Notifications
Everyone knows!
Optimize your attendance management with TeamPulse.
Eliminate the time wasted on taking attendance every week.
Benefit from automatic reminders for player attendance.
Make sure that every team member is informed effortlessly.
Receive notifications for absences and presences in real time.
Focus on training and performance, without worrying about the call.
Multi-teams
Several teams?
Several teams?
Multiply your opportunities with TeamPulse.
Manage or join an unlimited number of teams as needed.
Ideal for players and coaches involved in multiple teams.
Easily access all relevant information for each team.
Benefit from centralized management to avoid confusion between teams.
Enjoy maximum flexibility to navigate between your various responsibilities.
Multi-teams
Several teams?
Multiply your opportunities with TeamPulse.
Manage or join an unlimited number of teams as needed.
Ideal for players and coaches involved in multiple teams.
Easily access all relevant information for each team.
Benefit from centralized management to avoid confusion between teams.
Enjoy maximum flexibility to navigate between your various responsibilities.
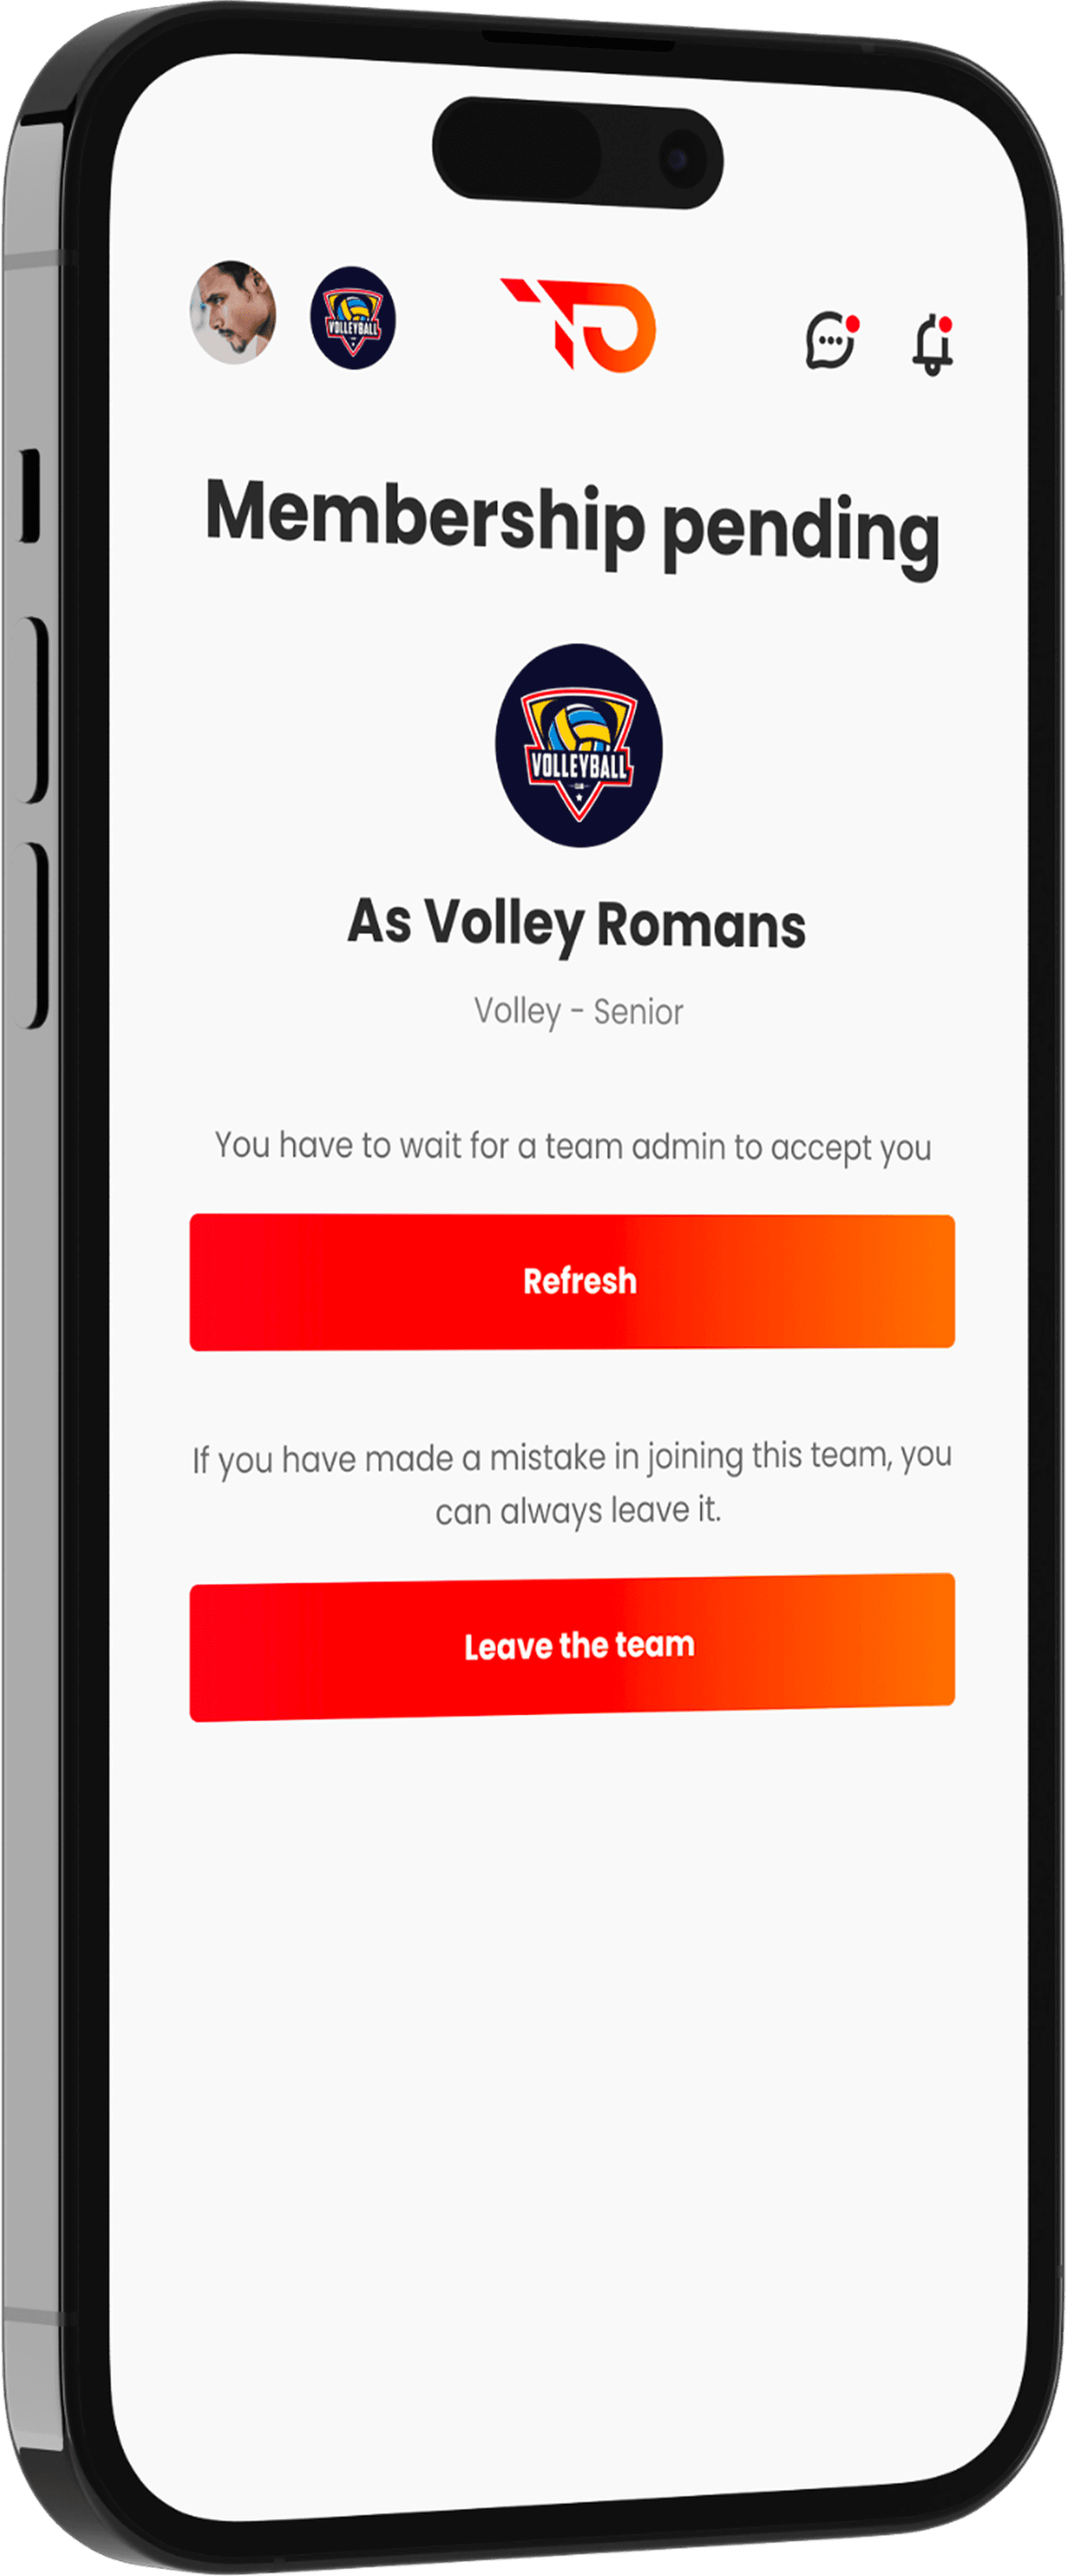
How does it work?
Use our app with these few simple steps to create your team or join an existing one.
1
Create and join your team
2
Invite your players and friends
3
Accept them or wait until they are.
4
Set up and participate in events
5

Win your matches
For more details on creating and managing your team, please refer to our comprehensive guide on the blog or download our tutorials.
TeamPulse tutorials
TeamPulse blogs
How does it work?
How does it work?
Use our app by following these simple steps to create your team or to join an existing one.
Use our application with these simple steps to
create your team or join an existing one.
1
Create and join your team
2
Invite your players and your friends
3
Accept them or wait until they are.
4
Set up and participate in events
5
Win your matches
For more details on creating and managing your team, please refer to our comprehensive guide on the blog or download our tutorials.
TeamPulse tutorials
TeamPulse blogs
What is said about us
Managing my team has never been easier with Teampulse. The app allows me to track my players' attendance in real-time and organize my training sessions with complete ease. A clear, intuitive, and free tool: what more could a coach ask for?

Samuel - Coach
Dijon
TeamPulse is super convenient for me. As a player, the app allows me to easily keep track of the week's training schedule and organize carpooling with my teammates. A real time saver!

Gautier - Player
Roanne
TeamPulse simplifies the management of my training by automatically tracking attendance and absences. No more exchanges on WhatsApp, I save time and focus on what matters: my players. Essential for any coach!

Vanessa - Coach
Cherbourg
As a volleyball coach, TeamPulse has simplified the management of training sessions and my teams. The tool is intuitive, allowing me to easily plan sessions, track players' progress, and communicate quickly with them.

Vincent - Coach
Lyon
I have been using the app for 3 weeks and it helps me a lot to prepare my training as well as to communicate with the parents. What is great is that I was able to ask a question to the developer and he answered me very quickly.

Tristan - Coach
Lille
TeamPulse is a cool application, easy to use, and all the important information is clear and the answers are straightforward.

Laëtitia - Coach
Caen
Great app! As a player, all I have to do is respond to the notification to show my presence at the next training session. It's much simpler than a Facebook or WhatsApp group!

Tom - Player
Marseille
Managing my team has never been easier with Teampulse. The app allows me to track my players' attendance in real-time and organize my training sessions with complete ease. A clear, intuitive, and free tool: what more could a coach ask for?
Samuel - Coach
Dijon
TeamPulse is super convenient for me. As a player, the app allows me to easily keep track of the week's training schedule and organize carpooling with my teammates. A real time saver!
Gautier - Player
Roanne
TeamPulse simplifies the management of my training by automatically tracking attendance and absences. No more exchanges on WhatsApp, I save time and focus on what matters: my players. Essential for any coach!
Vanessa - Coach
Cherbourg
As a volleyball coach, TeamPulse has simplified the management of training sessions and my teams. The tool is intuitive, allowing me to easily plan sessions, track players' progress, and communicate quickly with them.
Vincent - Coach
Lyon
I have been using the app for 3 weeks and it helps me a lot to prepare my training as well as to communicate with the parents. What is great is that I was able to ask a question to the developer and he answered me very quickly.
Tristan - Coach
Lille
TeamPulse is a cool application, easy to use, and all the important information is clear and the answers are straightforward.
Laëtitia - Coach
Caen
Great app! As a player, all I have to do is respond to the notification to show my presence at the next training session. It's much simpler than a Facebook or WhatsApp group!
Tom - Player
Marseille
Frequently asked questions
Here are the most frequently asked questions regarding the TeamPulse application. Can't find the answer to your question? Contact us!
Application
Settings
Account
How to create a TeamPulse account?
Is TeamPulse free?
Is the application compatible with all devices (iOS, Android, etc.)?
I can't create an account, what should I do?
How to reset or change your password?
Can we manage multiple teams with the same account?
How to create or join another team?
Parents, how to enable parental controls on your account?
How to permanently delete your TeamPulse account?
What does premium support correspond to?
Application
Stay informed
Join the TeamPulse private space for free and be among the first to discover our news, new features, and upcoming sponsorship campaigns.
Stay informed
Join the TeamPulse private space for free and be among the first to discover our news, new features, and upcoming sponsorship campaigns.
Stay informed
Join the TeamPulse private space for free and be among the first to discover our news, new features, and upcoming sponsorship campaigns.
Application
Club Management
Contact
Usage rights
Various
Application
Club Management
Contact
Usage rights
Various